
How to Perfectly Make Salted Duck Eggs Using the Brine Method: A Flavorful Tradition
Just imagine the satisfying pop of a salted duck egg yoke when you break it open, releasing a rich, savory aroma that instantly takes you back to family gatherings and home-cooked meals. These delightful morsels have a way of conjuring warm memories and nostalgic flavors that carry you back to your loved ones. The beauty of How To Make Salted Duck Eggs Using Brine Method isn’t just the flavor; it’s the essence of home.
As a passionate foodie, I recall my grandmother meticulously preparing salted duck eggs, her laughter filling the kitchen as she explained the brining process. It was those cherished moments that inspired me to master this age-old technique. Unlike other methods that require cooking or longer curing times, the brine method is simple yet deeply effective, allowing the eggs to absorb just the right amount of flavor while keeping their delightful texture.
In this recipe, I promise you’ll learn not just the steps but the heart behind each flavorful bite. You’ll uncover tips and tricks that elevate your home cooking to new heights. Let’s explore the world of salted duck eggs together and create something as special as the memories we carry.
What are Salted Duck Eggs?
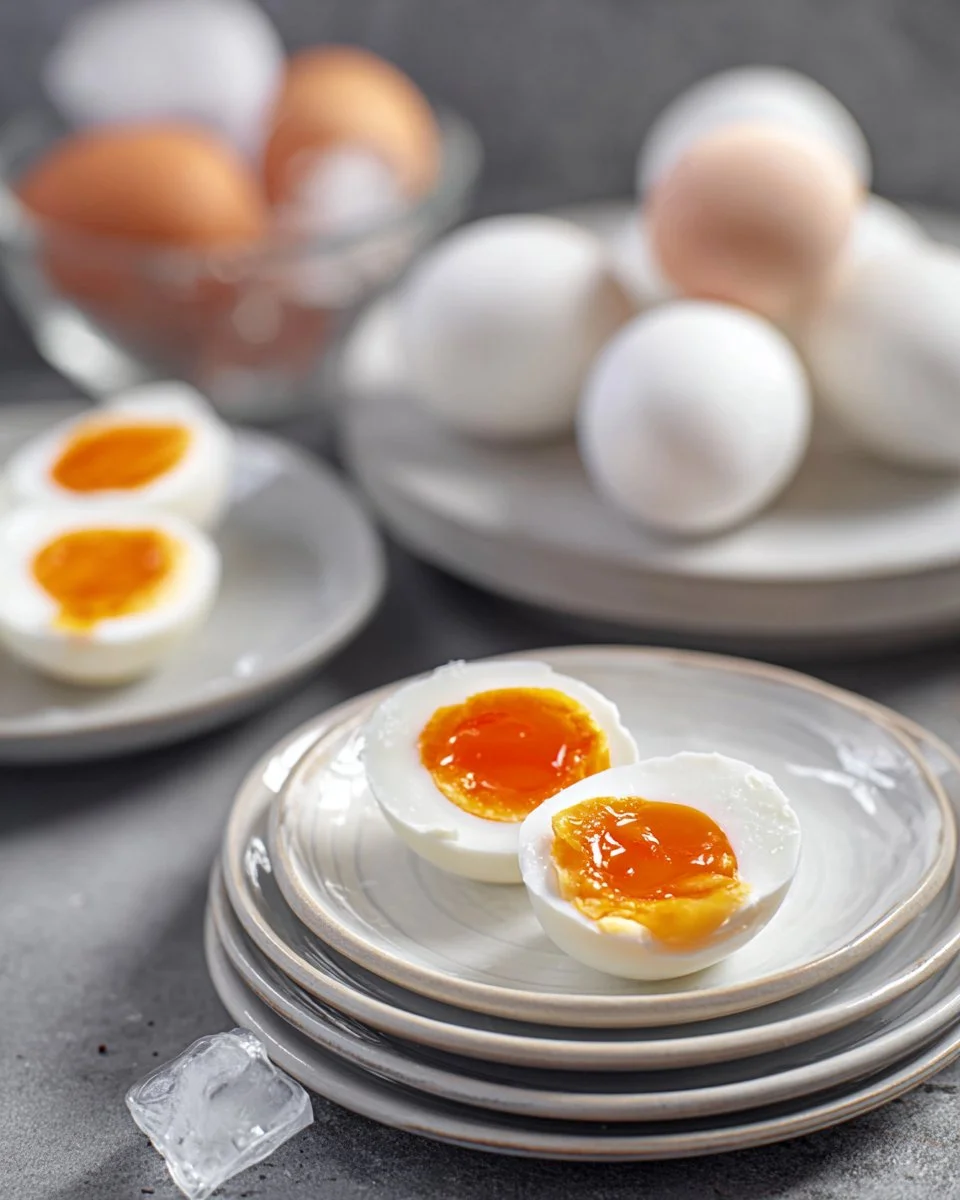
Salted duck eggs are a culinary gem with roots steeped in tradition, primarily enjoyed in Asian cuisines. They originated in China, where ducks were often raised for their eggs, and preserving them in salt became a practical solution to make them last longer. These eggs have a unique, creamy texture and a bold, savory taste, perfect for a variety of dishes.
What makes them truly special is the balance of flavors achieved through the brine method. When properly cured, the egg whites become firm yet tender, while the yolks transform into a luscious, almost custard-like consistency. They’re not just a condiment; they elevate any dish, from congee to salads, providing an umami punch that’s hard to resist.
Brining is both a science and an art, and it’s the perfect way to preserve and enhance these lovely eggs. You’ll want to make them for special occasions, family gatherings, or even just as a delightful treat for yourself.
Why You’ll Love This Recipe
-
Unmatched Flavor: The brine method infuses the eggs with a savory taste that you just can’t replicate with store-bought options. Once you’ve tasted homemade salted duck eggs, you’ll never go back to the bland, overly processed versions.
-
Cost-Effectiveness: Making salted duck eggs at home is not only fun but also economical. With just three simple ingredients—duck eggs, water, and rock salt—you can create a gourmet ingredient that saves you money compared to buying them pre-made.
-
Customization Options: Feeling adventurous? You can easily experiment with the brine by adding spices or aromatics like star anise, garlic, or chili to create your distinctive flavor profile!
-
Simplicity: Don’t worry if you think you’re not a skilled cook; this recipe is straightforward and involves minimal active cooking time. The hardest part is waiting—two weeks of pure anticipation!
-
Family Connection: This recipe is a connection to my own roots. Every time I make it, I reminisce about those joyful moments in my grandmother’s kitchen. I can’t wait for you to make these with your loved ones, creating your own traditions in the process.

Ingredients
Here’s what you’ll need to create delicious salted duck eggs using brine method:
-
10 Duck Eggs: Look for fresh, high-quality duck eggs, preferably from local farms. Organic options are great if available.
-
4 Cups Water: Use filtered water for the best flavor and purity.
-
1 Cup Rock Salt: Choose coarse rock salt for a perfect brine; I personally love using Diamond Crystal® Kosher Salt for its balanced taste.
Prep Notes: Ensure your duck eggs are at room temperature before starting. A clean workspace will help you avoid contamination and ensure even brining.
Step-by-Step Instructions
-
Clean the Eggs: Rinse the eggs gently under running water, using a soft cloth if needed, to remove any dirt or impurities. Pat them dry with a kitchen towel, ensuring there are no remnants left.
-
Prepare the Brine: In a medium saucepan, combine 4 cups of water and 1 cup of rock salt. Heat the mixture over medium heat, stirring occasionally until the salt is fully dissolved. This should take about 5-7 minutes. Once dissolved, remove from heat and let it cool to room temperature.
-
Brine the Eggs: Place the cleaned duck eggs in a large glass jar. Pour the cooled brine over the eggs, making sure they’re fully submerged. Leave some brine aside for later.
-
Weigh Down the Eggs: To keep the eggs submerged (this is crucial!), transfer the leftover brine into a small plastic bag and seal it tightly with an elastic band. Place this bag on top of the eggs in the jar to prevent any of them from floating.
-
Seal and Store: Close the lid tightly on the jar and store it at room temperature away from direct sunlight. Patience is key—let it cure for two weeks. You can gently shake the jar every few days to redistribute the brine.
-
Ready to Enjoy: After two weeks, your salted duck eggs will be ready. Rinse them lightly before using in your favorite dishes.
Chef’s Tip: If you’re worried about the brine being too salty, try curing one egg first for a week, then taste test before proceeding with the others!
Expert Tips & Tricks
-
Use Fresh Duck Eggs: The fresher your eggs, the better the final taste. Ask your local farmer for the freshest batch possible!
-
Temperature Matters: Store the jar in a consistently cool place. Extreme temperatures may affect the curing process. Room temperature is often best.
-
Taste Test: After one week, taste one egg to check on the salinity. If it’s to your liking, cool it in the refrigerator and use it thereafter.
-
Storing: Once cured, the salted duck eggs can last for up to three months in the fridge, or even longer in a cool, dark place.
-
Make-Ahead: You can always prepare a bigger batch and share with friends or family, creating fellow fans of this recipe.
Serving Suggestions
Salted duck eggs are incredibly versatile! Here are some ideas on how to serve them:
-
Breakfast Delight: Serve them alongside steaming congee, or simply slice them over a bed of fluffy rice with soy sauce.
-
Elevated Salads: Crumble cooked salted eggs over green salads or Asian-style salads for added creaminess.
-
Savory Pastries: Incorporate them into pastries, adding depth and rich flavor to your homemade dumplings or steamed buns.
For special occasions, why not arrange them on a beautiful platter with garnishes like fresh herbs and thinly sliced radishes? The presentation adds an extra touch of elegance to your table!
Variations & Substitutions
The beauty of making salted duck eggs is the freedom to customize them! Here are some suggestions:
-
Herbed Brine: Add sprigs of rosemary or thyme to your brine for an aromatic twist!
-
Spicy Twist: Incorporate a few slices of fresh chili or red pepper flakes to introduce a bit of heat.
-
Sweet & Savory: For a unique flavor, try adding some star anise or a dash of soy sauce to your brine for a Chinese-inspired twist!
-
Vegan Variation: Although not a direct substitute, you could try making a plant-based version using tofu marinated in a similar brine. It won’t yield the same egg experience, but it can offer umami notes.
Nutrition & Storage Info
- Prep Time: 15 minutes
- Cook Time: N/A
- Total Time: 2 weeks curing
- Yield: 10 servings (10 eggs)
- Estimated Calories: 114 calories per egg
Storage Instructions: Once cured, you can keep the salted duck eggs in the fridge for up to three months. Properly stored in an airtight container, they should maintain their flavor for months.
FAQ Section
-
Can I use chicken eggs instead of duck eggs?
- Yes, but the flavor and texture will differ. Duck eggs are richer and creamier.
-
What if my eggs float?
- They might be rotten; however, if they’re fresh, ensure they are submerged with a weight for even curing.
-
Can I eat salted duck eggs raw?
- It’s recommended to cook them for safety, but the brining process preserves them well.
-
How can I tell if my salted duck egg is ready?
- Taste it! If it has the salty, creamy flavor you love, it’s ready to enjoy.
-
Do I need to store cured eggs in the fridge?
- Yes, once cured, keep them refrigerated for longevity.
-
What’s the best way to cook salted duck eggs?
- Boil them until hard-cooked for a traditional approach; they also work great in soups.
-
Can I reuse brine?
- Yes! Sometimes, I reuse the brine for a second batch, just be sure to boil it before reusing.
-
Why didn’t my eggs cure properly?
- This can happen if the salt concentration was off or eggs weren’t properly submerged.
-
What dishes can I make with salted duck eggs?
- They’re wonderful in rice dishes, salads, or even blended into sauces.
-
Can I make smaller batches?
- Absolutely! You can simply scale down the recipe to fit your needs.

Conclusion
Making salted duck eggs using the brine method is not just a culinary endeavor—it’s a journey of flavor and tradition. By embracing this recipe, you’re not only ensuring a delightful treat for your palate but also creating memories for your loved ones. So, gather your ingredients and get started on this delicious adventure!
I’d love to hear about your experience with this recipe! Drop a comment below and share your family’s favorite way to enjoy salted duck eggs. And if you’re excited about more homemade goodies, don’t miss out on my other related recipes that bring comfort and joy to the table!

Salted Duck Eggs
Ingredients
Method
- Clean the eggs: Rinse the eggs gently under running water, using a soft cloth if needed. Pat them dry with a kitchen towel.
- Prepare the brine: In a medium saucepan, combine 4 cups of water and 1 cup of rock salt. Heat over medium heat until the salt is fully dissolved (5-7 minutes). Once dissolved, remove from heat and let it cool.
- Brine the eggs: Place the cleaned duck eggs in a large glass jar. Pour the cooled brine over the eggs, ensuring they’re fully submerged. Leave some brine aside for later.
- Weigh down the eggs: To keep the eggs submerged, transfer the leftover brine into a small plastic bag, seal it, and place it on top of the eggs in the jar.
- Seal and store: Close the lid tightly on the jar and store at room temperature away from direct sunlight. Let it cure for two weeks.
- Ready to enjoy: After two weeks, rinse the eggs lightly before using.