
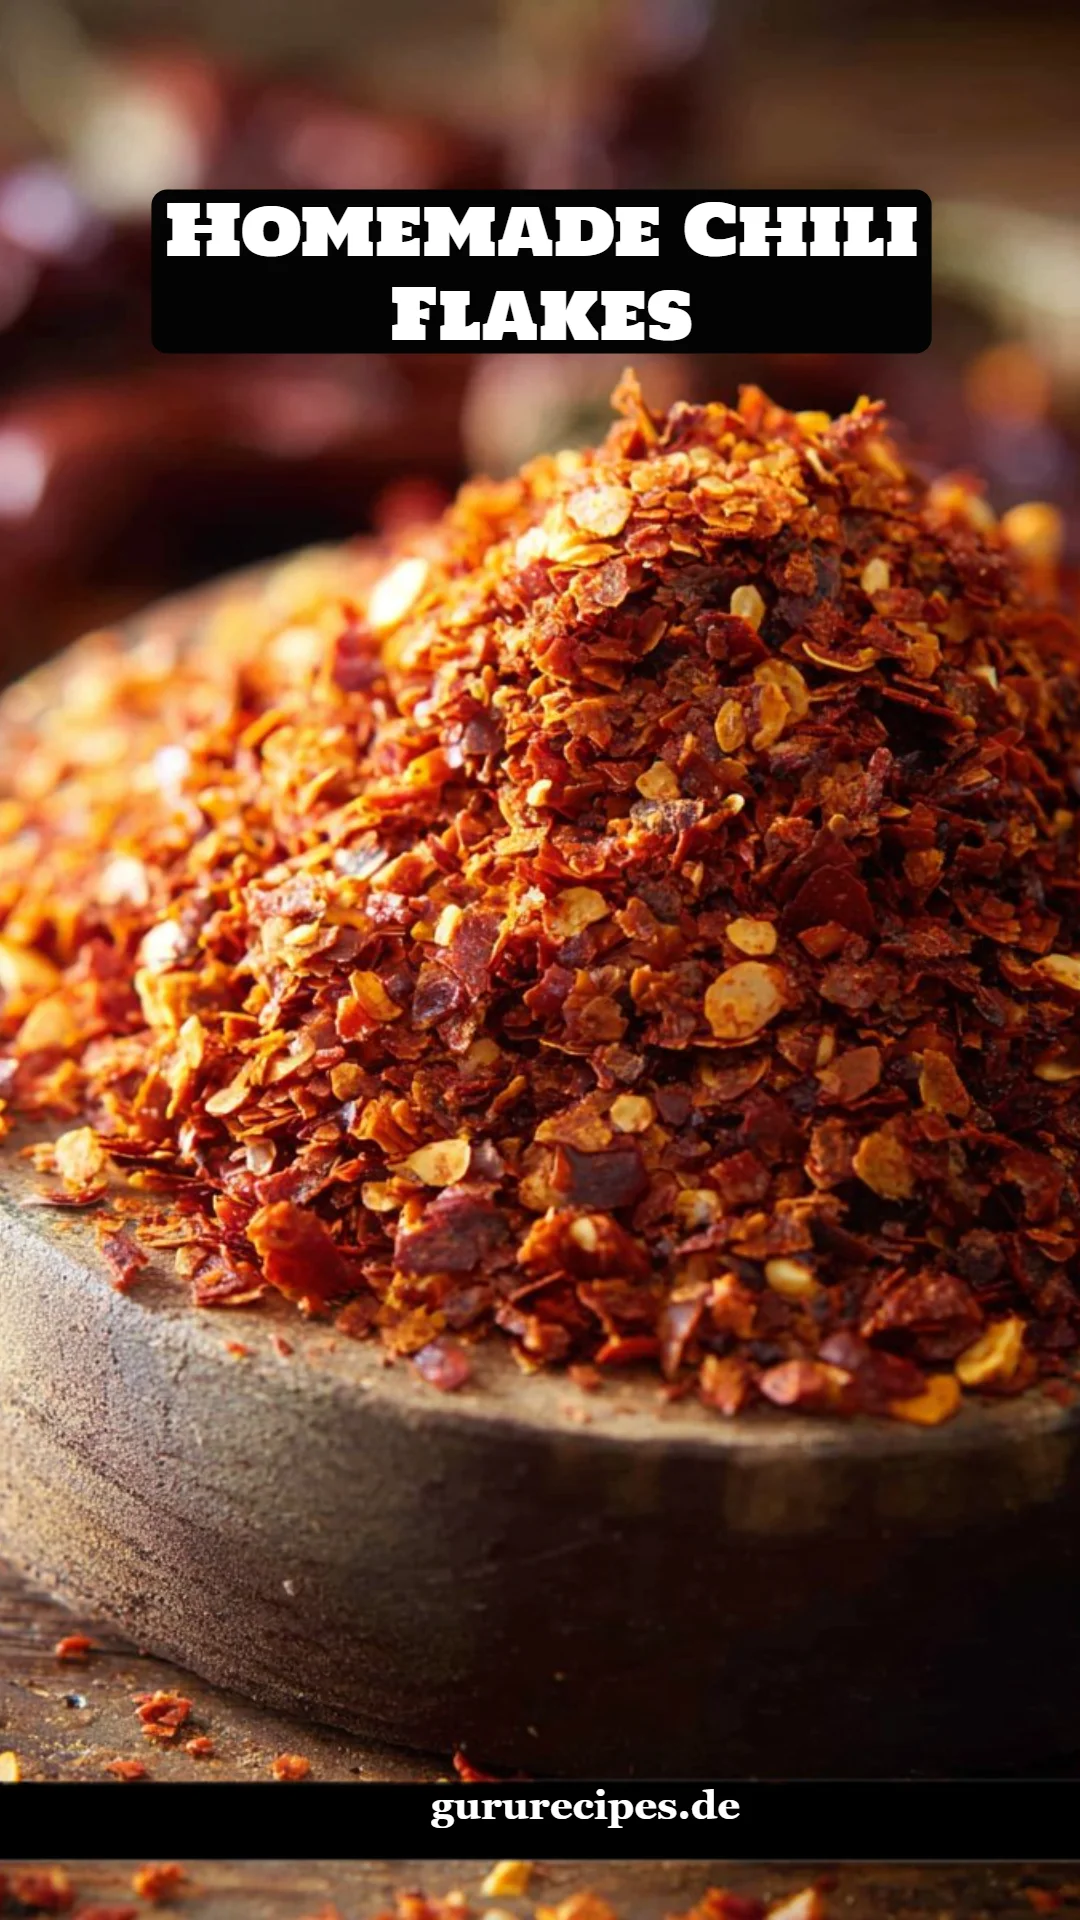
Spice Up Your Life: A Flavor Adventure with Homemade Chili Flakes
As a passionate food blogger and a spice aficionado, there’s something incredibly satisfying about making your own Homemade Chili Flakes. I remember the first time I set out on this culinary adventure; I was aiming to impress my family with a homemade pizza night. Little did I know, my enthusiasm for exploring flavors would uplift the entire meal. Personally crafted chili flakes sprinkled atop gooey cheese and fresh basil transformed our usual Friday night pizzas into gourmet experiences that sparked laughter and warm conversations around the table.
What makes these homemade beauties truly special is their vibrant freshness and the perfect balance of heat and flavor tailored to your unique taste. Unlike store-bought versions, which often sit on the shelves for who knows how long, these chili flakes are made from dried chilies packed with personality and history. They remind me of my childhood, growing up in a food-loving family where sharing recipes was an art form and seasoning was a ritual.
In this post, we’ll journey into the world of Homemade Chili Flakes: how to make them, why they deserve a spot in your kitchen, and the lovely ways to use them. With this handy recipe, you will not only add a pinch of heat to your dishes but also weave in memories of shared meals and laughter. Let’s get started!
What Are Homemade Chili Flakes?
Homemade Chili Flakes are the little green, red, and vibrant orange gems of the spice world, brightening up our meals with warmth and character. Originating from various regions, these chili flakes capture the essence of the peppers used, offering a stunning explosion of flavors that can range from smoky to sweet, and hot to mildly tingling.
The beauty of homemade chili flakes lies not just in their bold flavors but also in their unique textures that store-bought products often lack. When made with love, you’ll notice a vibrant color and the occasional crunch that elevates any dish. The satisfaction of creating your own permits you to blend different varieties to capture specific flavor profiles, making each batch a personalized experience. They’re perfect for spicing up tacos, pasta, or even just as table seasoning when friends gather around.
But why should you embark on the adventure of making your own? Because these Homemade Chili Flakes allow you to control the heat level while crafting something that resonates with you and your kitchen story!
Why You’ll Love This Recipe
-
Ultimate Freshness: Homemade Chili Flakes are a game changer when it comes to fresh ingredients. You can ensure that every batch is bursting with flavor that you simply don’t get from commercial brands.
-
Cost-Effectiveness: Crafting your own chili flakes can help save money over time. Bulk dried chilies are often more affordable than the small jars sold at the store, giving you a great return for your investment.
-
Customization: One of the best parts about this recipe is that you can adjust the heat level to your liking. Prefer it smokier? Add some chipotle chilies. Want it fiery? Opt for birds eye chilies. The choice is yours!
-
Effortless Process: Don’t be intimidated! This recipe is straightforward and requires minimal effort. The hardest part? Waiting for your chilies to dry after washing!
-
Memorable Moments: Making your chili flakes is not just about the result; it’s about the experience. You might find yourself laughing or reminiscing with loved ones as you roast, grind, and pack your spices together, creating flavors and memories that last.
By the end of this journey, you’ll not only have a jar of your very own Homemade Chili Flakes but also the knowledge and confidence to create flavors that can change your cooking repertoire forever.
Ingredients for Homemade Chili Flakes
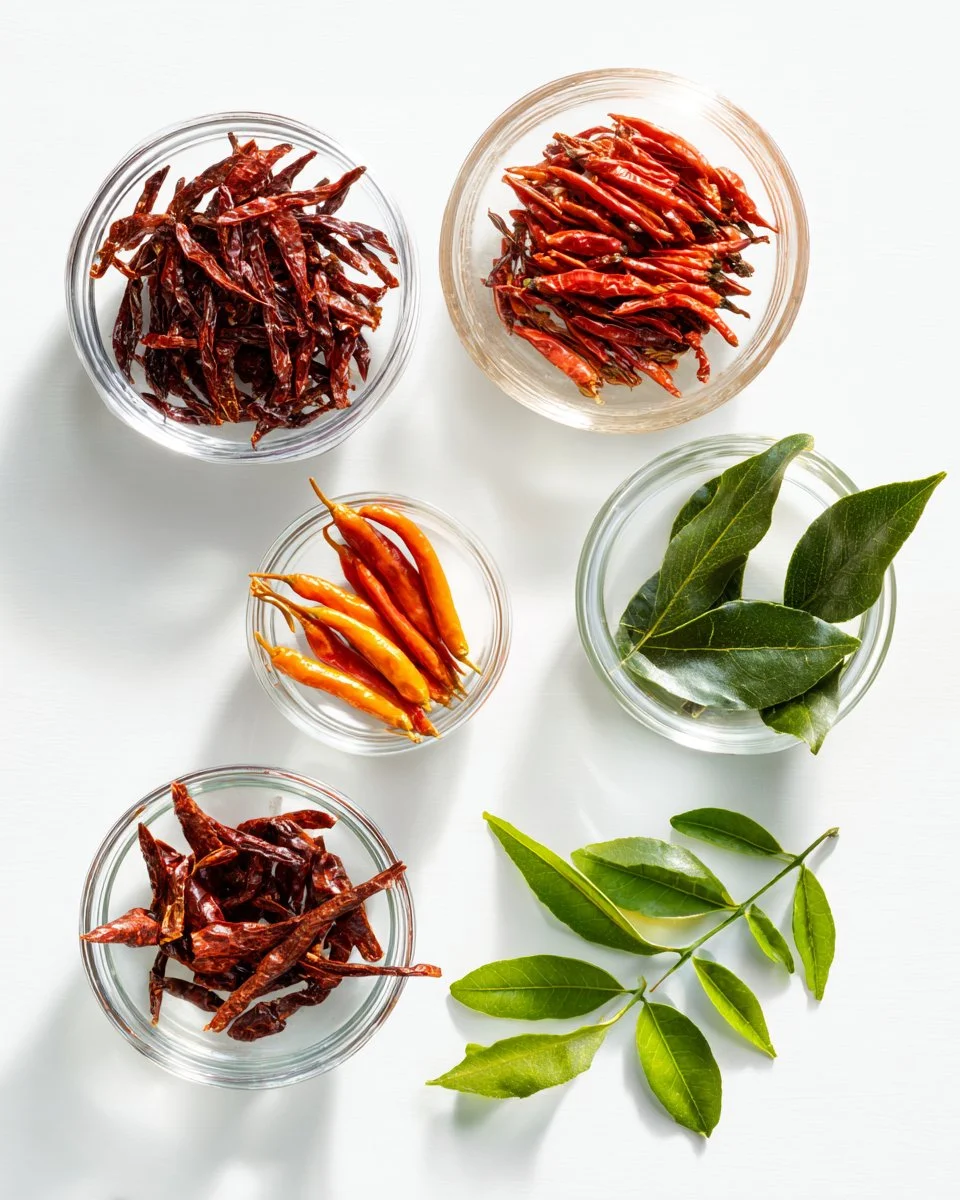
- Spicy Dried Chilies:
- Thai Birds Eye Chilies: These bring a fire to your flakes! Perfect if you love that extra heat.
- Arbol Chilies: A slightly smokier flavor that’s also crucial for depth.
- Makrut Lime Leaves (optional): For an added zing, these lend a fragrant citrus note that truly elevates your chili flakes.
Ingredient Notes:
- Quality: Always choose high-quality dried chilies when possible. Look for those without blemishes or excessive dust. Brands like Spice Jungle or Penzeys offer superior options.
- Substitutions: You can mix in other dried peppers like ancho or pasilla for different flavor profiles. Just remember: they each bring their unique character.
- Preparation Notes: If you choose to use butter for any follow-up cooking, ensure it’s at room temperature for easy blending.
Step-by-Step Instructions
-
Wash the Chilies: Begin by dunking the dried chilies in cold water and swishing for 5 seconds. This will remove any dust or debris. Pat them dry on a kitchen towel and let them dry completely overnight or use a fan for quicker results for about 1-2 hours.
-
Deseed the Chilies (Optional): If you prefer a milder spice, carefully cut the chilies with scissors and pour out the seeds.
-
Toast the Chilies: Now we get to the fun part! You can choose one of two methods:
- Stovetop: In a dry pot over medium heat, add the chilies and lime leaves (if using). Stir constantly for about 4-5 minutes until you see charred spots forming; the smell will also be divine!
- Oven: Preheat to 300°F (150°C). Spread the chilies on a baking sheet and bake for 5-7 minutes until they’re darker and the aroma fills your kitchen.
-
Grind into Flakes: Transfer the cooled toasted chilies to a grinder. Here’s a tip: for a coarse grind, pulse briefly; if you want a fine powder, grind for longer.
-
Safety Tip: After grinding, wait 15-20 seconds before opening the grinder lid to let the dust settle, preventing a sudden sneeze!
-
Store: Once ground, transfer your chili flakes into an airtight container. For maximum freshness, keep them in the fridge or freezer.
Chef’s Tips:
- Perfect Timing: Monitor your chilies when toasting; burnt is bad, but perfectly toasted brings out natural sweetness.
- Common Mistakes: Avoid overcrowding the pan during toasting or baking. Give each chili space for even cooking.
Expert Tips & Tricks
-
Storage Recommendations: Store your chili flakes in airtight jars in a dark place (like a spice drawer) for best results. They can last up to a year, but their flavor is best enjoyed fresh.
-
Make-Ahead Instructions: You can prep the chilies a week in advance. Let them dry completely and store them until you’re ready to toast and grind.
-
Adjusting Texture: If you like varying levels of coarseness, try using a mortar and pestle for more control; it’s also great for adding a bit of meditative joy to the process!
-
Avoid Over-Toasting: Keep an eye on the chilies! Too much time over high heat can lead to an undesirable bitterness.
-
Troubleshooting: If your chilies are too hot, consider blending them with a milder variety to balance the spiciness.
-
Involve the Family: Get your kids or friends to join in! Making chili flakes can become a fun kitchen activity that brings everyone together.
Serving Suggestions
Your Homemade Chili Flakes can embellish nearly anything! I love putting them on:
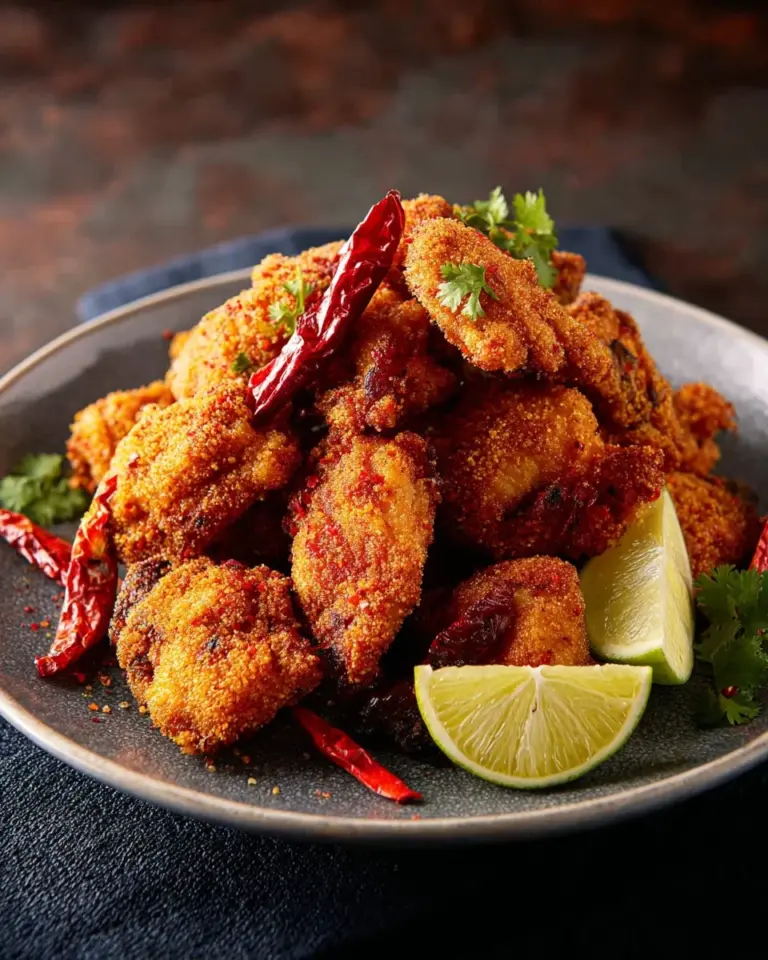
- Pizza: A sprinkle over the top of a cheese slice elevates the taste dramatically.
- Pasta Dishes: Toss a pinch with olive oil and garlic for a spicy pasta sauce that’s to die for!
- Soups and Stews: Liven up winter comfort foods with a dash to bring warmth and charm.
For presentation, consider adding a bit of flair by serving them in a small dish with a drizzle of olive oil. This makes it easy for guests to take as much or as little as they want!
Variations & Substitutions
-
Flavor Combinations: Mix dried herbs like oregano or basil for a unique take. Try using some roasted garlic powder for a delightful twist!
-
Dietary Restrictions: This recipe is naturally gluten-free and can be vegan, making it inclusive for everyone at your table!
-
Seasonal Variations: In fall, consider adding a pinch of smoked paprika alongside your chili flakes for a wonderful autumn-inspired flavor.
Nutrition & Storage Information
- Prep Time: 15 minutes
- Cook Time: 15 minutes
- Total Time: 30 minutes
- Yield: About 1 cup of chili flakes
- Estimated Calories per Serving: Approximately 15 calories per teaspoon
- Storage Instructions: Store at room temperature or in the fridge for longer shelf life. They can last up to a year.
FAQ Section
-
Can I use fresh chilies instead of dried?
- While dried chilies are essential for making flakes, you can use fresh chilies but must dehydrate them first.
-
How can I tell if my chili flakes are still good?
- The aroma should be strong; if it smells bland, it’s time for a new batch.
-
What’s the best way to use my chili flakes?
- They shine as a sprinkle on tacos, alongside pasta, or even in salad dressings for an added kick!
-
Can I mix different types of chilies?
- Absolutely! Experimenting yields fantastic results. The blend brings out complexity in flavor!
-
Is there a difference between chili flakes and chili powder?
- Yes! Chili powder is typically a blend of ground chilies and other spices like cumin, while chili flakes preserve the texture of the peppers.
-
Are Homemade Chili Flakes spicy?
- Yes, the heat depends on the chilies used and how many seeds remain.
-
Can I make them without toasting?
- Toasting enhances flavors and aroma, but it’s not mandatory.
-
Can I give these as gifts?
- Certainly! Packaging them in a beautiful jar makes for a thoughtful and spicy gift!
-
What should I do if my flakes are too hot?
- Blend them with milder flakes or peppers to balance the heat.
-
How can I experiment with flavors?
- Try adding herbs or spices like garlic powder or cumin when grinding for unique blends!

Conclusion
In wrapping up this flavorful journey, I’ve shared how to craft the perfect jar of Homemade Chili Flakes, infusing your meals with warmth, character, and love from your very own kitchen. It’s a perfect blend of art and science that won’t just tantalize your taste buds but also create memorable connections with friends and family.
I encourage you to give this recipe a shot! You’ll discover the joy of using fresh spices that elevate your cooking, just as they did for me on that memorable pizza night. And don’t forget to share your feedback or any personal twists you try out—I’d love to hear your stories! For more delightful recipes that will spice up your life, check out my other posts on seasonal dishes and cherished family favorites. Happy cooking!

Homemade Chili Flakes
Ingredients
Method
- Wash the chilies by dunking them in cold water for 5 seconds to remove dust, then pat dry.
- Let the chilies dry completely overnight or use a fan for about 1-2 hours.
- If you prefer milder flakes, carefully cut the chilies and remove seeds.
- For stovetop method: In a dry pot, toast the chilies and lime leaves over medium heat, stirring constantly for 4-5 minutes until charred spots appear.
- For oven method: Preheat to 300°F (150°C), spread chilies on a baking sheet, and bake for 5-7 minutes, monitoring closely.
- Transfer cooled toasted chilies to a grinder and grind to your preferred coarseness.
- Wait 15-20 seconds after grinding before opening the lid to avoid chili dust.
- Store the chili flakes in an airtight container in the fridge or freezer for maximum freshness.